:)

:)

Sunday, August 14, 2016

5 Tips for Making Classroom Moves EASIER!

Moving Classrooms....

As a teacher, especially an elementary school teacher, moving classrooms is bound to happen at one point or another in your career. Whether you are a brand new teacher moving into your classroom (congrats!), a teacher changing grade levels, or moving to a new school, it is never an easy process. 

I have been moving into a new classroom this summer, in preparation for an Instructional Coach/job share. While I am SO excited for this change, the idea of moving into a new classroom is daunting! On top of that, it is not an empty classroom, but a classroom fully occupied by another teacher. I'm in luck, because the teacher I am job sharing with is BEYOND kind, AND had her walls already set up and ready to go. 

Let's get back to the point... If you are moving into a new classroom for any reason, try out these 5 tips to make your move simpler, easier, and more stress-free!

#1 ~ Get Help!

I am a teacher that is hesitant to ask for help - and I FULLY regret that with my move this year! Box up all of your stuff, and then ask friends, family, co-workers for help! You will be surprised how willing people can be to come into the classroom and help out - even for an hour. 

Most teachers do not get paid for the majority of the work we do over the summer, and there is no magical stipend for all of the hours upon hours we spend moving our accumulated "stuff" into a new classroom. Therefore - ask for help!

Make nice with the custodians in order to get boxes, borrow dollies and carts, and maybe even get them to lend in a hand. 

When you do get help, make sure you have specific jobs in mind, so no one is left feeling like their time is wasted, or they are not sure what to do next. Also, reward with pizza :)


Check out how The Coffee Crafted Teacher used friends to help her get her classroom set up!

#2 ~ Set-Up Your Desk

Your desk/teacher area is a great hub to get started and settled first. This is an important spot in your classroom, and you should decide on YOUR area before you get to what the rest of the classroom will look like. 

Also, this allows for you to have a designated space for all of your items and supplies. Trust me, this is a HUGE, yet simple idea that will make your move much less stressful. 

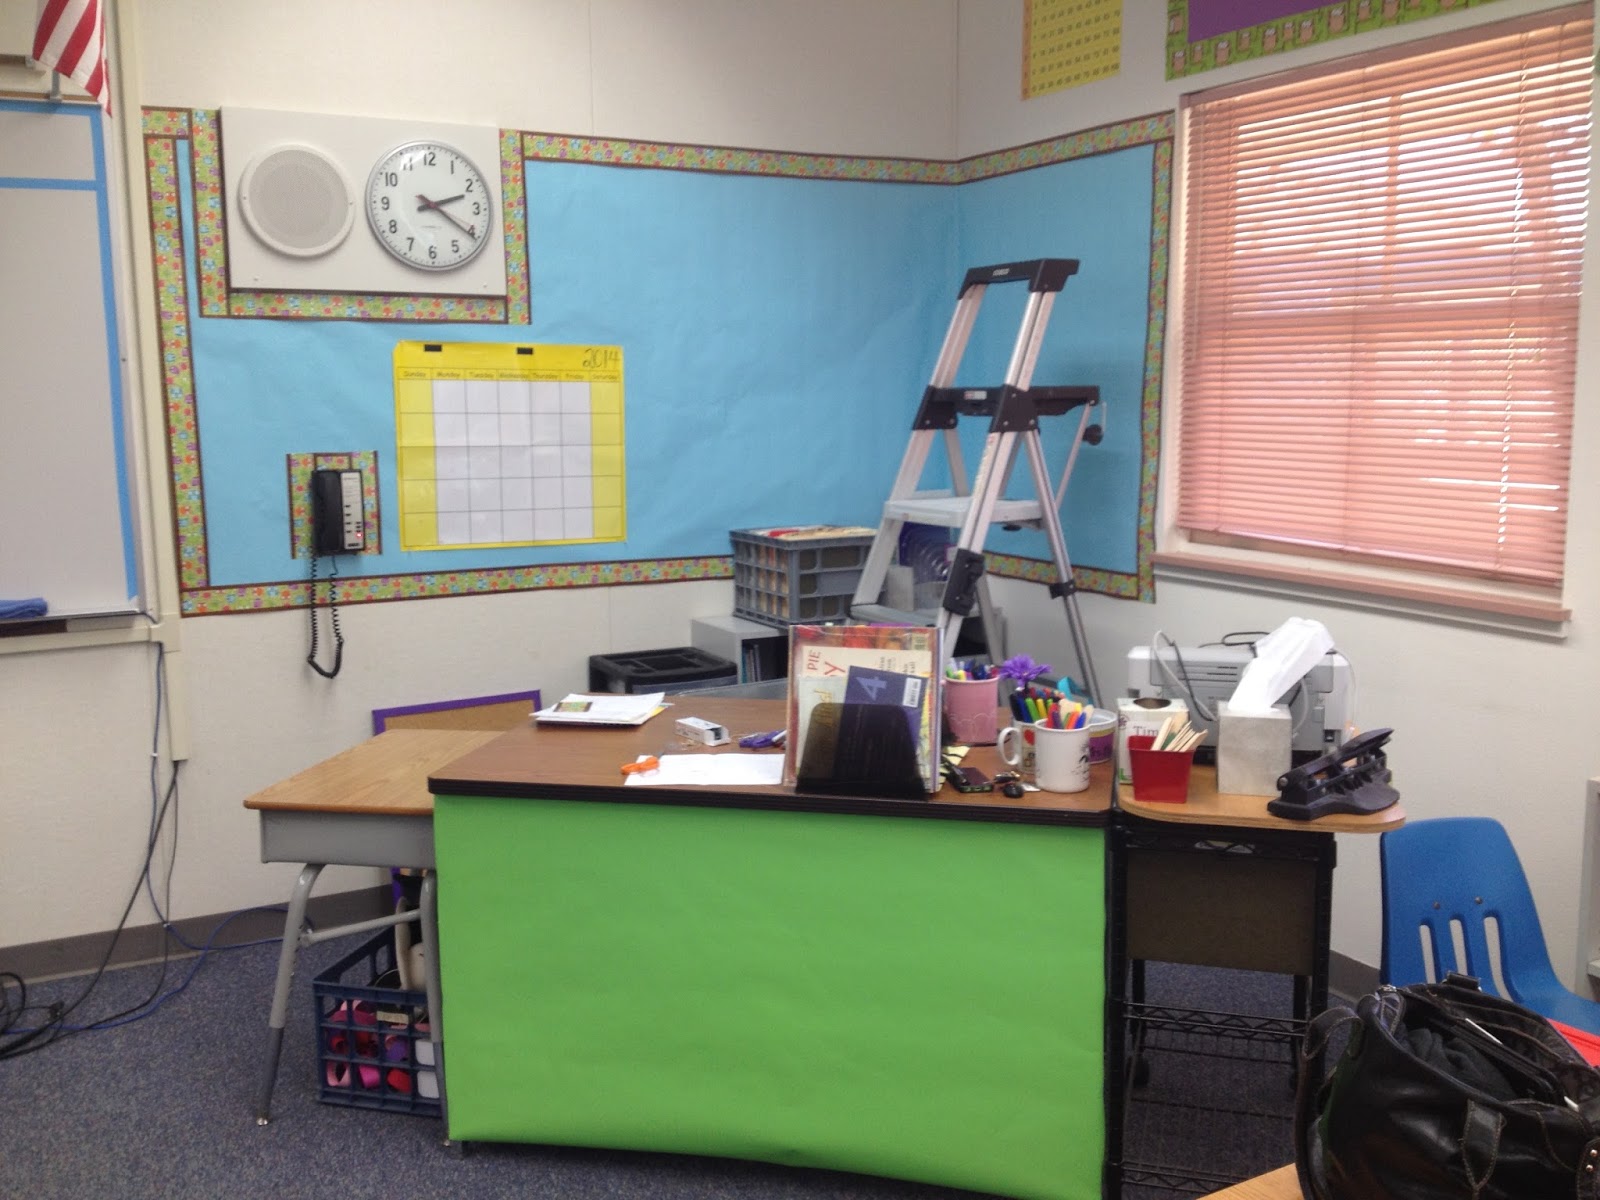
Nothing fancy - just get your teacher area started.

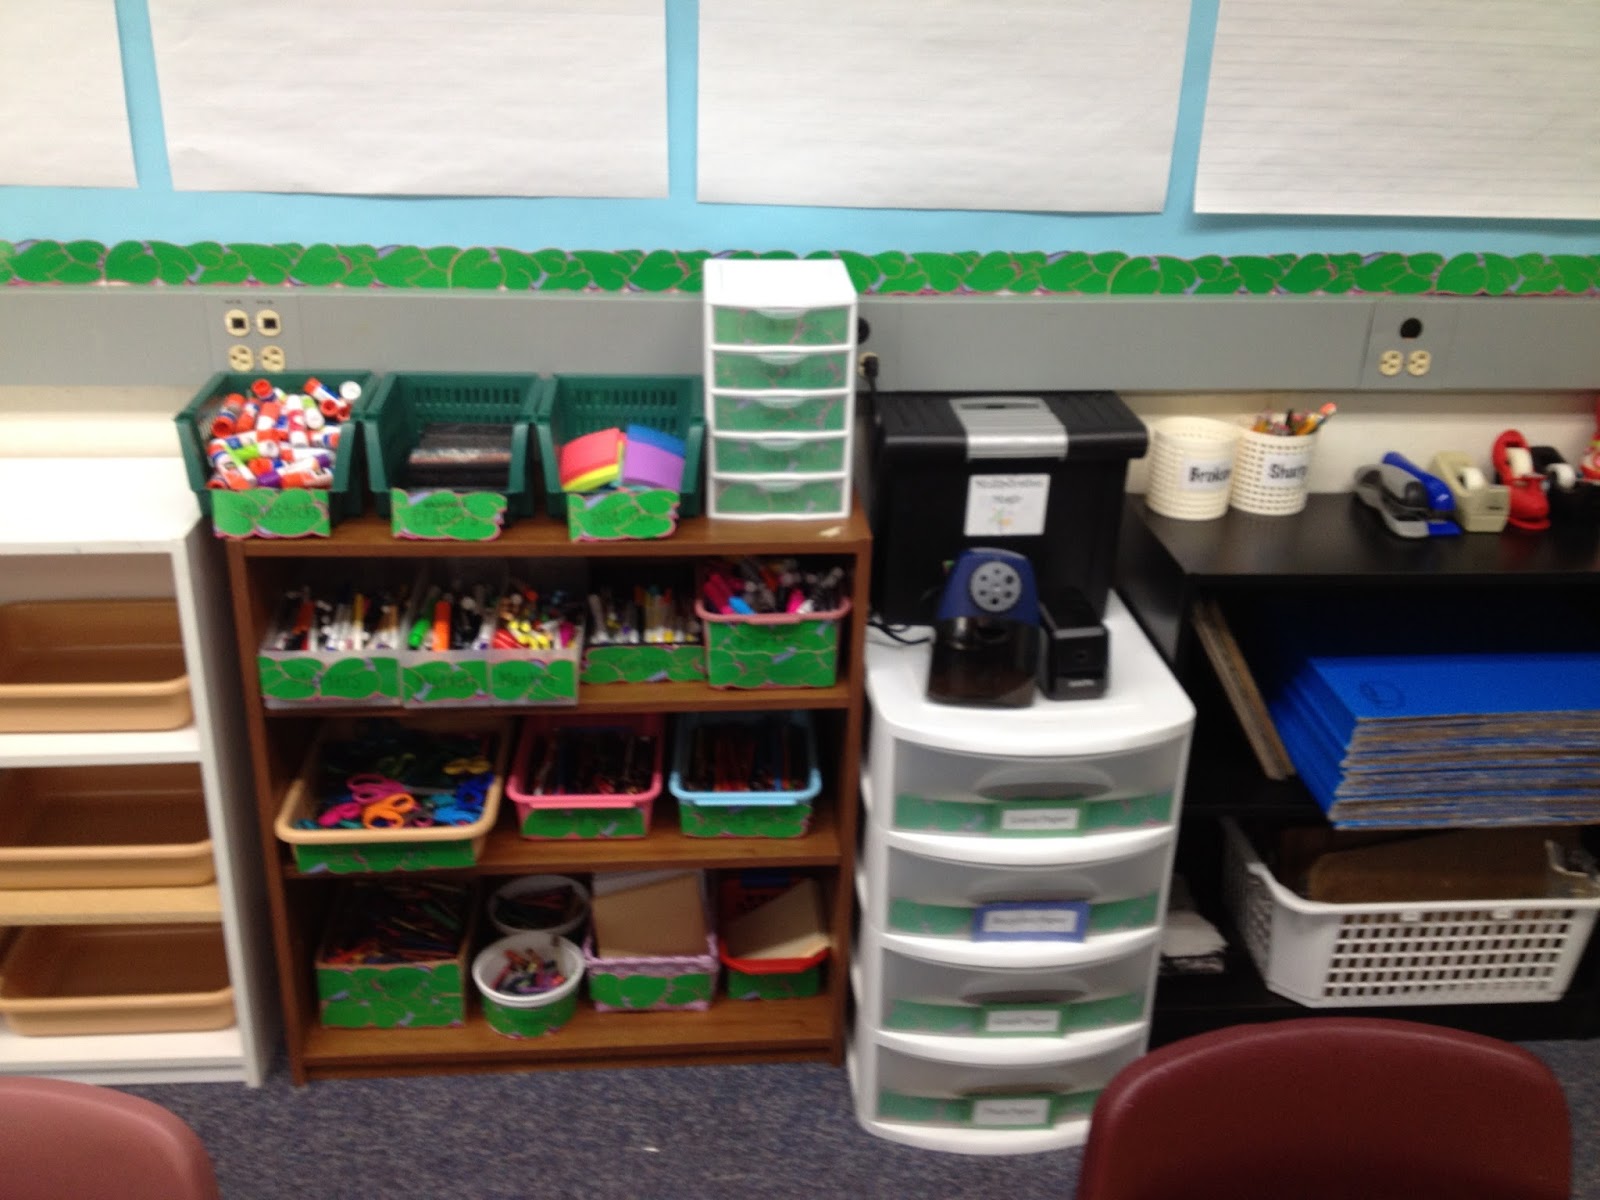
#3 ~ Clean, Clean, Clean!

You will never have your classroom so cleared out! As all the summer dust has settled in, take clorox wipes to all the counters, window sills, book shelves, etc.! This is a GREAT area for friends to help out with. 

Although this may seem tedious, or like you have a million other things to do, this will save you from trying to clean up nooks and crannies as the school year goes on. Take the time to clear those cobwebs, and make your classroom look as clean as possible!


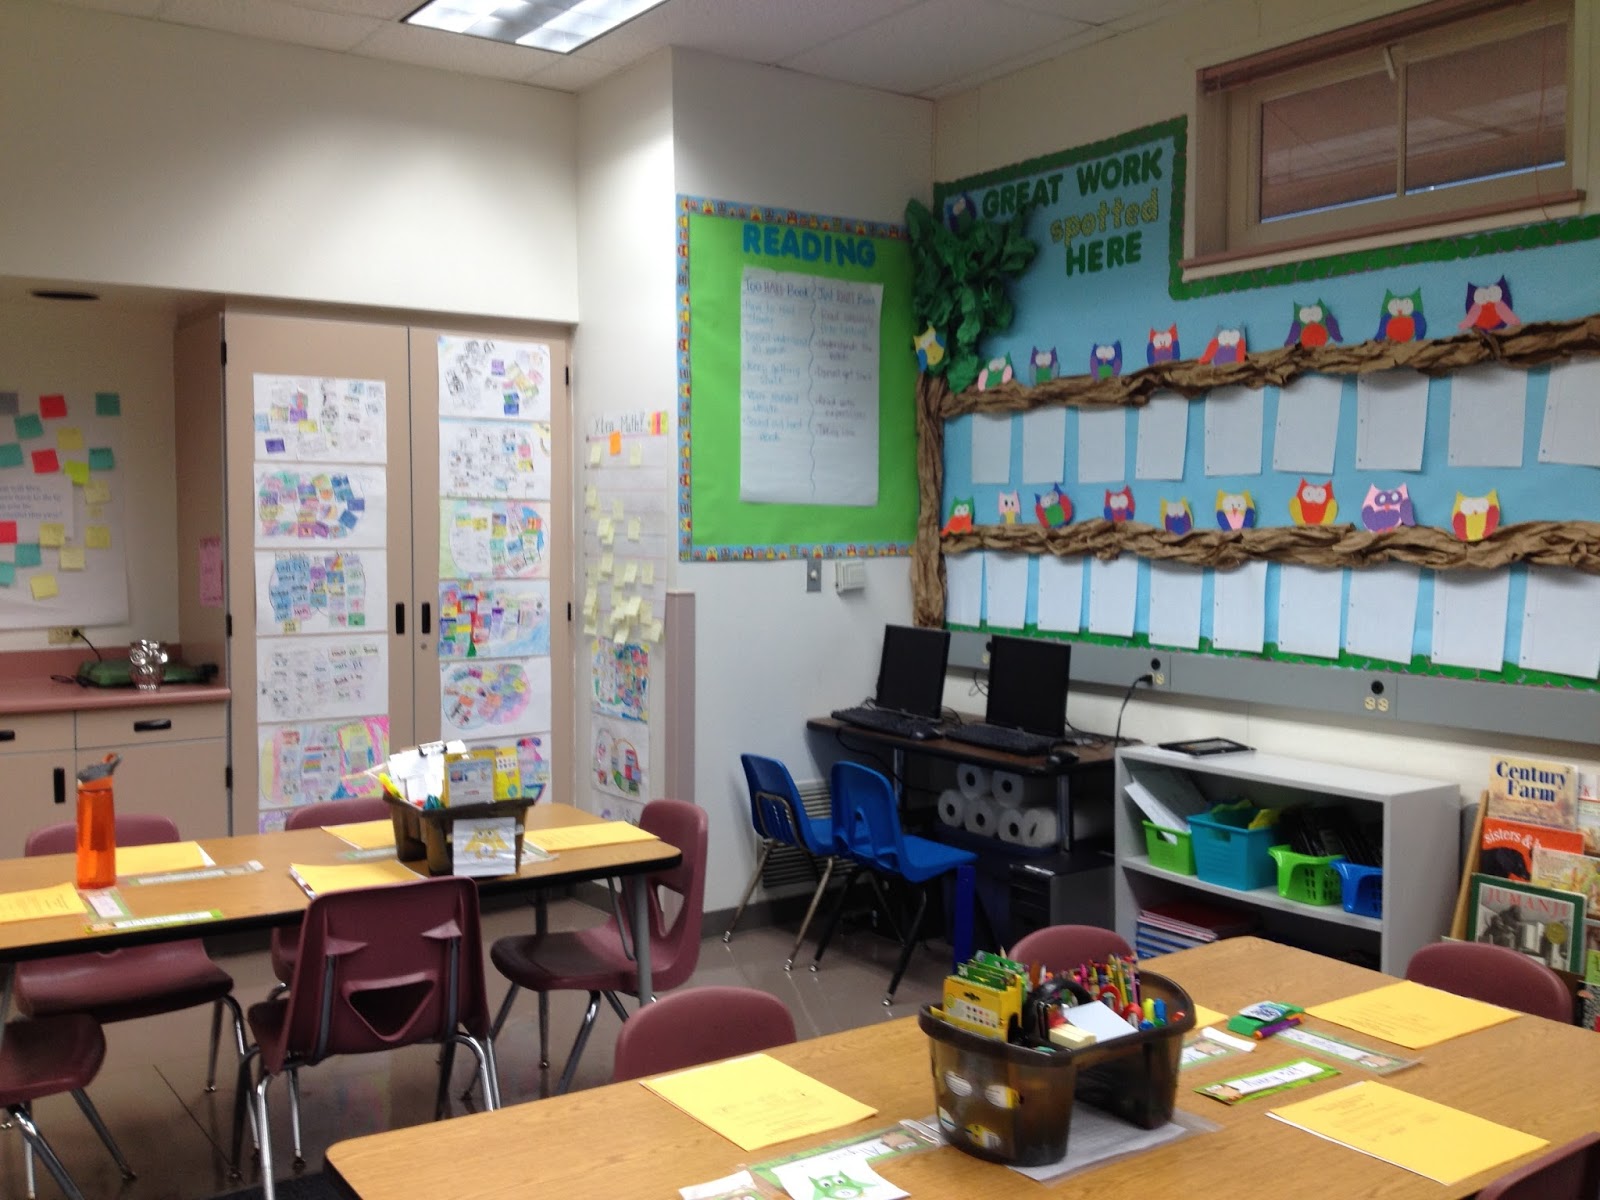
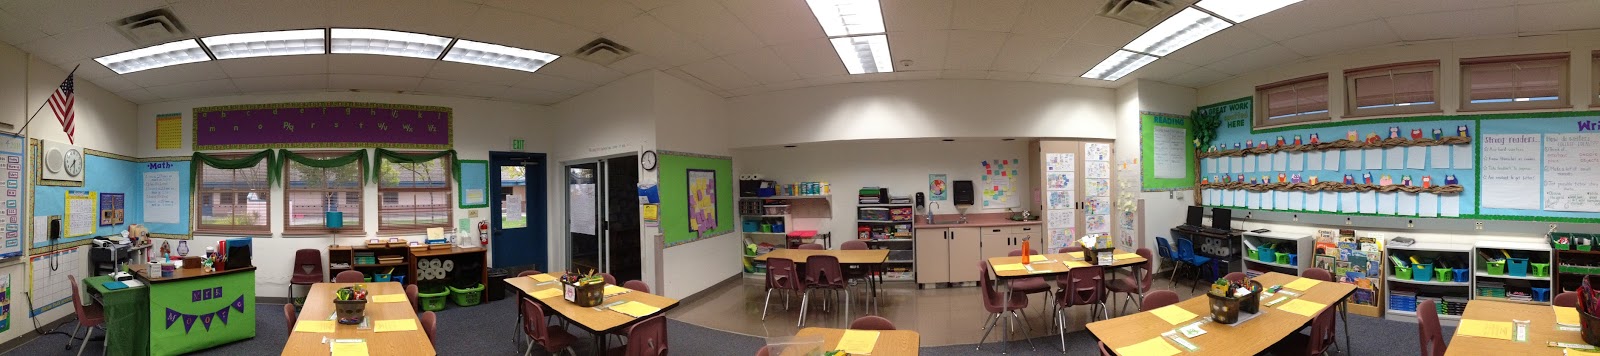
#4 ~ Plan Your Furniture, Then Tackle Those Walls!

I am always antsy to get my bulletin boards up and ready - it is a great way to make the room come together. 

However, before you get to the walls, plan out the flow of your classroom. 
Where will all of your tables, desks, and shelves go?
How do you want table seating to look?
What areas do you need to plan for in your classroom?

Classroom Architect is a GREAT website for the visual learners in all of us! 
Check it out!

After you have an idea of how you want the furniture to look in your classroom, plan out the walls!
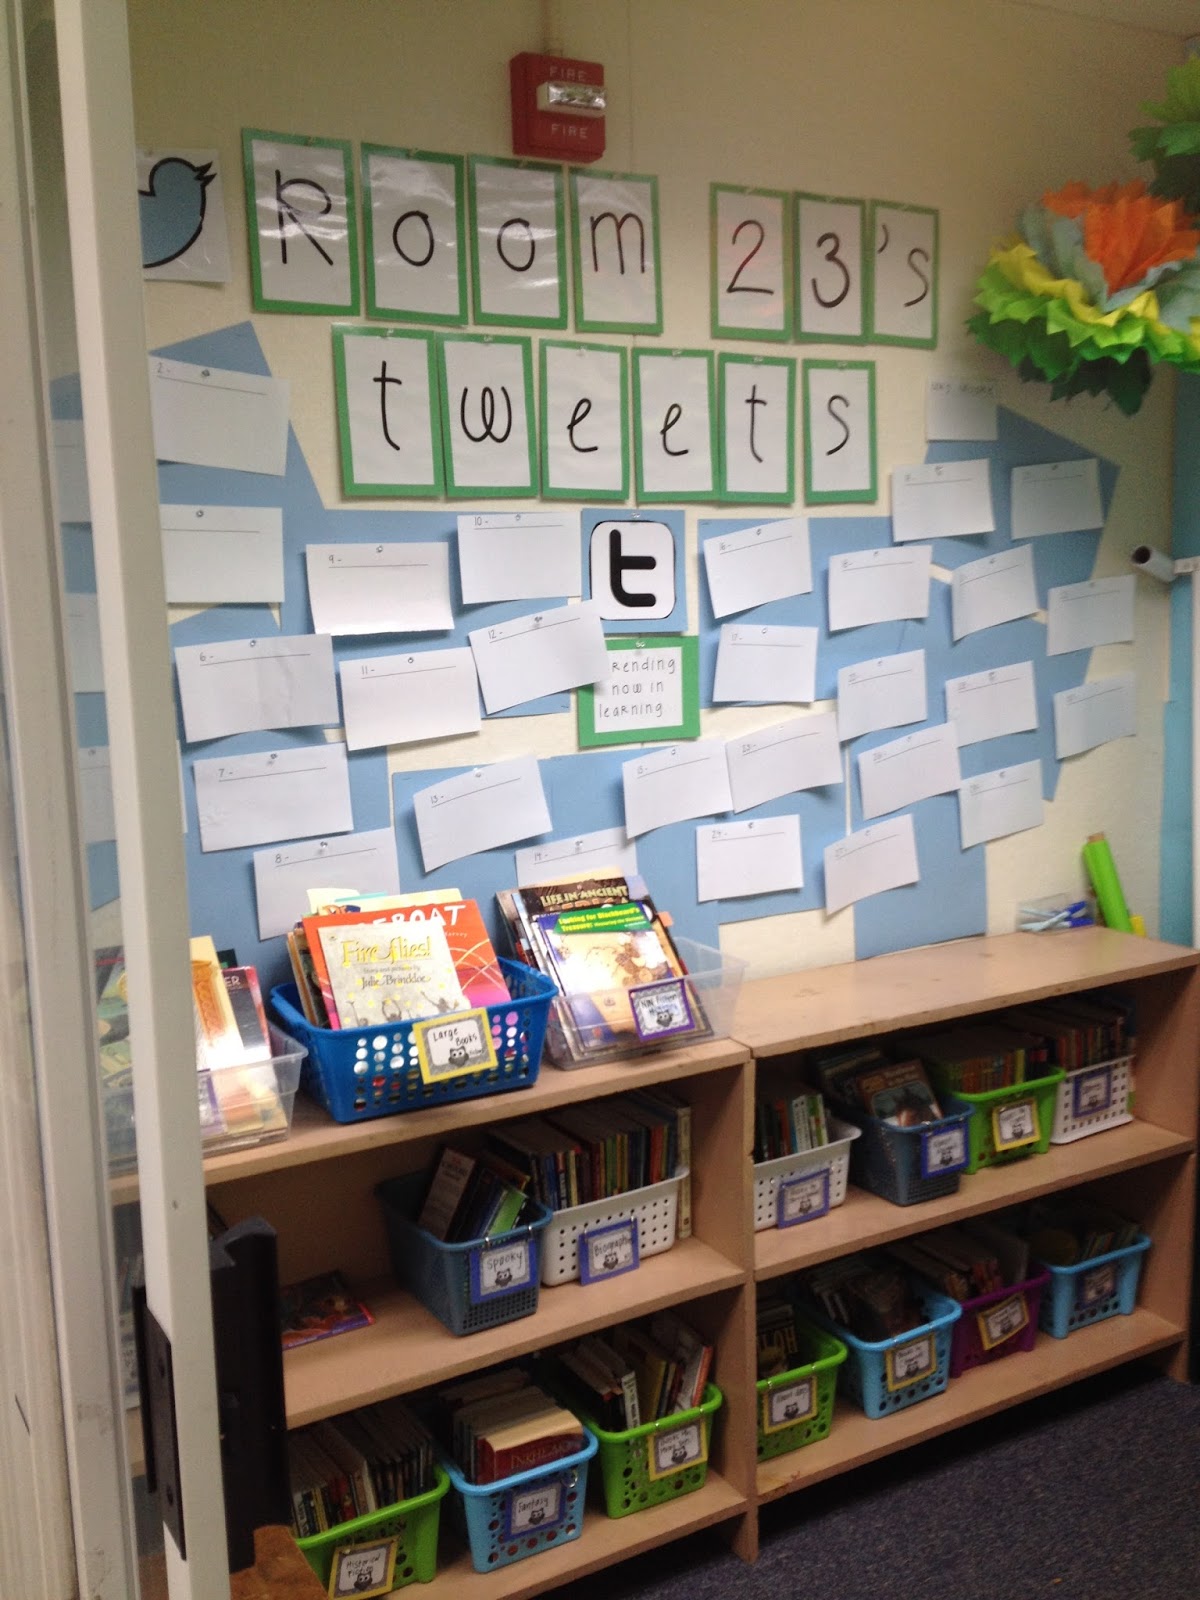
What color paper should go where?
What bulletin boards do you NEED to have in your class?
- Different subjects?
- Focus board?
- Super Improver wall?
- Student work area?


Once you have that planned - get to work! Hanging paper is MUCH easier with an extra set of hands, and fadeless paper is your best bet to make the walls last for years and years! Even better - fabric! Walmart has cheap sheets in MANY colors that work wonders for the walls of a classroom. 

One tip I recommend is hanging paper with push pins first. Then, work your way from one side to the other with a stapler, flattening the paper and pulling it taut so you have no wrinkles!


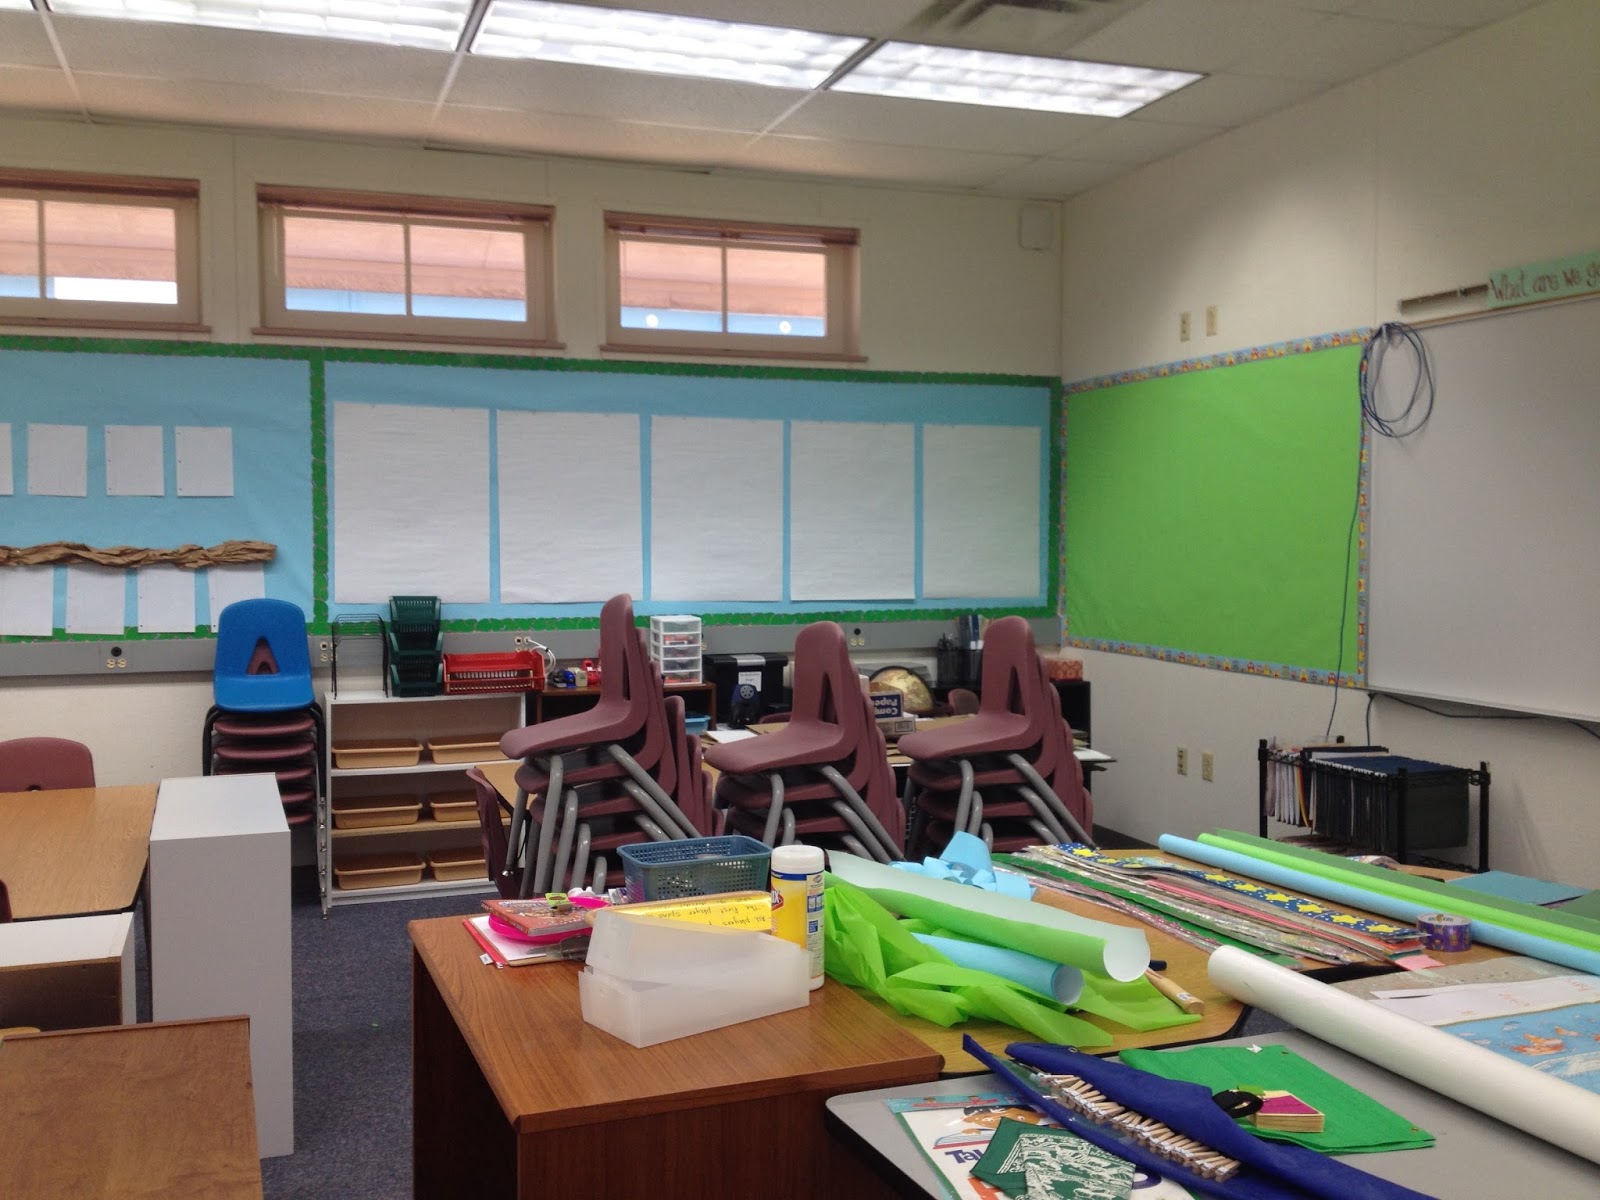
#5 ~ Work Your Way Around the Room

This was a tip I learned from a co-worker my first year of teaching. Whether it is moving classrooms, or the daily clean-up after school, this pro-tip helped to save from countless hours of moving piles from one place to another. 

Start at your desk. Then, either going clockwise or counter-clockwise, SLOWLY make your way around the room. Do whatever you need to make THAT area the way it needs to look for the first day of school. Yes, this means that other areas of your classroom look like a disaster, but you will get there! 

By making your way around the room, your work becomes more focused and less scattered. Rather than thinking about how a WHOLE room must be cleaned and prepped, focus on one wall/corner at a time!


I  hope these tips helped you as you transition to a new classroom! Is there any other tips YOU would add to the list?

Check out my classroom move from last year:


Saturday, July 30, 2016

Show Me

Have you ever used the app Show Me?

I started using Show Me on my iPad last year, and it was a classroom GAME CHANGER!

What is Show Me?

Show Me is an app on the iPad, and all videos can be accessed online on their website: www.showme.com

The app is free - with up to 60 minutes of recording space. If you need more space than that, you will have to pay ($4.19/month)

Using the app, you can create videos, add drawings, and record your voice. Take a look at my demo to get an idea of what you can do - here.  Don't be alarmed when it asks for your name - you can list your first name or initials :)

In addition, you can create student accounts, as well as different groups/classes - perfect for Middle School teachers, or even differentiating which student watches which video!

How can I use Show Me in class or with my students?

There are many ways you can use this app. See my list below, and comment if you have another idea of how to use this app in class!

1. Create mini flipped lessons

This is the main way that I have used the app in my classroom... Have you ever had a parent ask about the Common Core math or complain about the "new way" we are teaching our students? Well, creating mini flipped lessons is great for your students AND their parents. 

Last spring, I began recording 2-5 minute Show Me videos, walking the students step-by-step through the math that I would teach the following day. This helped to keep parents in the loop (so much positive feedback from providing the videos), as well as front load the lesson material for all of my learners. 

The effect from these Show Me videos was immediate. My struggling learners had more confidence during the math lesson and were participating more. Students seemed much MORE excited about math time. 

See an example Show Me video I made for my students here.

In addition, show these videos to your parent volunteers, paras, and classroom aides. It will help them understand how you teach it, and it will help them to help the students. 

Lastly - you can use Show Me to create completely flipped lessons. Students can watch the video at home, and come to class prepared and ready for activities and discussions revolving around the lesson. 

2. Search lessons 

If you are feeling overwhelmed and short for time, head to the Show Me website, and search for other teacher-made videos! There are TONS on there - and not just math related!

For example...

Here is a video on conjunctions.

Here is a video on the water cycle.

Here is  video on subtracting mixed numbers.

You can also search by Common Core Standard - how great is that????

3. Videos created by students

Why should teachers have to do all the work? Have your students create a Show Me video where they explain their thinking to you while they solve a math problem. This is a great way for us to catch and correct any misunderstandings and mistakes. 

ALSO, have students create videos to explain concepts to their classmates. This is great especially for my high achieving students. I'm always amazed at how creative they can get with their videos!

See one of my student's videos here.


I hope this helped you to understand the app Show Me a bit more, and that you were able to get ideas to use in your own classroom!!!

Monday, July 18, 2016

10 Ways to Use GAFE in Your Classroom


As a 4th grade teacher, I know that my students love technology, & are familiar with it. Last January, my school district rolled out Google Apps for Education (GAFE), & each of my students were given a log in and password. In my few months working through GAFE, I came up with 10 useful ways to use GAFE in your own classroom. 

These are overall ideas, & hopefully you can take & adapt these ideas to fit your grade level, subject, & students. It is okay if you are unfamiliar with a part of GAFE or have not used that Google tool before. Learn along with your students. Your students should be encouraged to problem solve, use critical thinking skills, & collaborate with their classmates. This is a great time to show that teachers are students too. When in doubt - Google it! It is beneficial for your students to see you doing this!

If you are super new to GAFE, you can find a video tutorial here.

Link to my Google classroom.

1. Google Classroom: Post announcements, share links, ask questions, etc. 


A great place to start is by creating your own Google classroom. This video does a great job going step-by-step through creating your own digital classroom.
After you have created your own Google Classroom, & had your students enter your "classroom code", now is where you can interact with your students digitally.

- Share links: By pressing "Create an announcement", you can post an article for students to read, a video to watch, or a link to a document in your google drive. I use this when I want to share a resource with my students during research projects.
^ Example announcement - sharing a link


^ Example announcement - a video to watch, great for a FLIPPED lesson!
Students can comment, ask questions, respond to one another, etc.

- Ask Questions: By pressing "Create Question" you can ask your students questions like:
--> "What is your thesis for your narrative essay?"
--> "What you would like to learn about in our upcoming rock cycle unit?"
--> THEN, you can have students respond to others - giving constructive criticism to others' theses,              adding what they know about a science topic, etc.

^ This comment thread is after I asked students to share their 
Persuasive Essay Thesis, and comment on their classmates' ideas!

2. Drafting/Publishing Writing (Documents) 


Have students draft and publish their writing in Google Documents.

From there, students can:
- Share their writing with a classmate (make sure to click on the box: "comment only").
- Leave specific compliments and critiques in the comments
- YOU can view their writing as they go through the drafting, revising, and editing part of the writing process. Leave comments & questions to guide your students...

^ This comment thread is between two students, written on one of their persuasive documents.


3. Write a story to go along with their art (Documents)


- First, students create art!
       (Example: Clip out magazine pictures and create something inspired by Dali, Picasso, etc)
- Students will then use the camera on the laptop to take a photo of their art.
- Put photo into a google document, & write a creative story to go along with it!

See a student example --> HERE.

4. Collect parent information & feedback (Forms)


Do you handout a parent questionnaire at the start of the school year? --> MAKE IT DIGITAL!
- Make a copy of mine --> HERE.

Do you have parents sign up for a parent/teacher conference? --> MAKE IT DIGITAL!
- Make a copy of mine --> HERE. (As a parent chooses a slot, the option becomes unavailable for other parents)

5. Surveys (Forms)


Do you handout a student questionnaire at the start of the school year? --> MAKE IT DIGITAL!
- Make a copy of mine --> HERE.

Do you want to check in on your students' reading habits (& track them throughout the year)? 
- Make a copy of my simple reading questionnaire --> HERE.

Do you have students sign out when they leave the classroom? Try putting an iPad or laptop with this form up on the way out the door - it will digitally track where & when students go! 
- Make a copy of mine --> HERE

Do you have students complete short self-assessments? Try creating a simple Google Form that your students can use across subject areas!


6. Quizzes (Forms)


Most teachers have quick assessments so they can catch a glimpse of what your students know & don't know yet. MAKE IT DIGITAL! A few ideas you can have students do:

- Watch a video, respond to questions on a Google Form
----> Example HERE.

- Post a problem - math, science, grammar, etc., & have students answer in a Google Form
----> BONUS: The Add-on Flubaroo can grade it for you!

- Do you have students complete some sort of exit ticket? MAKE IT DIGITAL :)


7. Create a presentation (Slides)


Google Slides is similar to Power Point. Google Slides is a great & creative way for students to show what they know. Students can get photos from creative commons, & play around with the slides features.

The bonus factors include:
- You can view your students' work as they are completing it - leave comments! Ask questions!
- Students can view others' Google Slides... a great way to share ideas & collaborate.
- You can grade it ONLINE!

Student Example --> HERE.


8. Draw your answer (Drawing)


Give your students a math problem, a science concept, etc., and rather than explain or write what they know, have them draw it!

A few tips if you are having students use Google Drawings:
- Put directions in a text box on the side of the drawing.
- Include one common element for all students to start with.

Example Lesson Instructions --> HERE.
Student Examples --> HERE & HERE.


9. Create a problem (Drawing)


Have students create a (math, reading response, science, etc.) problem for their classmates. Make sure to give your students requirements as to what must be in their problem!

Then, you can choose a few quality problems for the class to solve. 
Example --> HERE.


10. Infographic (drawing)


Another way to use Google Drawing and to have your students show what they know in a different way, have students create an infographic!

First, I would use THESE IMAGES to teach students about infographics.
What are they? What must they have? What should be left out?

My Example --> HERE. (I am obsessed with the musical Hamilton, so I had to focus on duels!)
Student Examples --> HERE.


One More: Google My Maps: 

I am still learning about this one.... watch this video tutorial.
Idea: Track where your character goes in a read-aloud book!


Using GAFE... BONUS!

No more lugging papers back and forth to grade - grade it all online, and "return" the work to your students with a grade and comments!

-*-*-*-*-*-*-*-*-*-*-*-*-*-*-*-*-*-*-*-*-*-*-*-*-*-*-*-*-*-*-*-*-*-*-*-*-*-*-*-*-*-*-*-*-*-*-*-*-

I hope you enjoyed my GAFE list, and are able to take some ideas back yo your own classroom. Is there anything you would add to the list?

PS: If you have any questions, or any of the links do not work, email me at: erinhmoore88@gmail.com


Hello World!

I am excited to join the blog world! I teach 4th grade in California - Bay Area. This 2016-2017 school year will mark my fourth year as a teacher, but my first year in with different title. This year, I am a part time 4th grade teacher, part time instructional coach.

What does this mean??

Well, what the job entails is:
- Co-teaching with my INCREDIBLE co-worker Kathy.
- When I'm not teaching in the classroom, I will be coaching other teachers at my school, and another school in the district.
- As a coach, I will be visiting other classrooms often.
- I have to share a classroom.
- This is a temporary, one year position, with the possibility of extension.

What those things mean to ME:
- A few days out of the year, Kathy will teach at the same time! TWO credentialed teachers in the room at one time?? Wahoo! Dance party - go!
- Half the parent/teacher conferences, half the report cards, half the planning & prepping!
- New Classroom ideas! I will share K-5 classroom ideas & photos :)
- I am giving up my room for a year or more... so, what do I leave behind? What must come with me? What do I put in storage so I can have it if I go back to full time teaching in a year?
- What will I be doing in a year? Do I settle in to my new position, or get ready to have my own class again next year?

Like most teachers, I get ansty/excited to get in my classroom at the start of the year. My school has a policy where teachers can not get into the classrooms until mid-August. Now, this is good and bad.

Good - it forces me to relax, and recharge! If I had my keys, I would be in there every day! We need a break :)
Bad - SO many things I want to do, and I will have SO little time to do it.

So for now, I try not to think about it. There's not much I can do, right?

Except: instagram, pinterest, & buy all the things at Target....
(instagram: @teach.coach.prep.repeat )


For a teacher who is trying to figure out where to put all the stuff she already has, buying more classroom items is not the brightest thing to do :)